
← All free classroom resources
Art & design · Years 2-6
How can I teach positive and negative space?
Notice both drawn shapes and the spaces around them.
Download: Positive and negative shape
A4 PDF · 2 pages · free · no sign-up
Print page 1 for the activity and keep page 2 for teaching notes, answers or review criteria.
Use A4 paper at 100% or Actual size. Suggested years or grades are selection aids, rather than curriculum alignment claims.
How to use this resource
- Draw two rectangles with a narrow gap and describe the gap as a shape in its own right.
- Use the supplied example or task brief. Let the learner respond through writing, drawing, discussion or their usual communication method.
- Review the answers or criteria below. Look for attention to the space between forms rather than only naming the forms themselves.
What is in the printable?
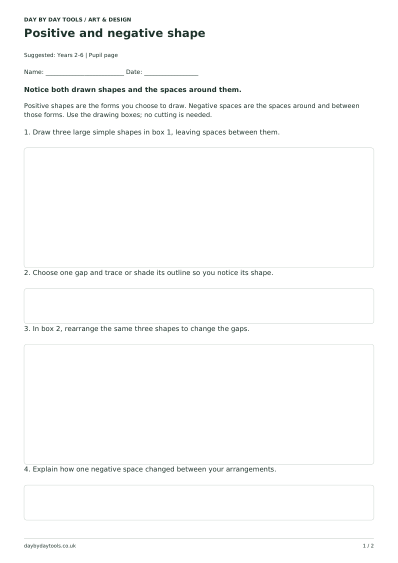
Positive shapes are the forms you choose to draw. Negative spaces are the spaces around and between those forms. Use the drawing boxes; no cutting is needed.
- Draw three large simple shapes in box 1, leaving spaces between them.
- Choose one gap and trace or shade its outline so you notice its shape.
- In box 2, rearrange the same three shapes to change the gaps.
- Explain how one negative space changed between your arrangements.
Make it easier or add challenge
More support
Offer three pre-drawn forms to arrange mentally or trace with a suitable tool; use enlarged spaces.
More challenge
Design an arrangement where a gap becomes the focal shape and explain the effect.
What to look for
Look for attention to the space between forms rather than only naming the forms themselves.
Teacher answers and suggested responses
Open-ended. Look for three identifiable forms in each arrangement and attention to at least one intervening space.
A useful explanation might describe a gap becoming narrower, enclosed, curved or connected. Touching and overlapping forms are valid if the learner can explain the intended shapes.
Further teaching guidance
Related guidance from EP for Schools: How can we make art more accessible for pupils with SEND?
Try another activity
Deliver individually or in a small group
Choose one learning aim from this activity. Model one example, work through another together, then give each pupil a turn with a fresh example. In a group, ask everyone to think or show a response before sharing; one confident answer does not show what the whole group understands.
Keep the task’s more-support option available. Allow the usual communication tools, practical materials or drawing where these preserve the learning aim. Reduce the number of examples if needed, rather than rushing through the sheet.
What progress should I look for?
Look for attention to the space between forms rather than only naming the forms themselves.
Note the example used and whether the response was independent, followed a general prompt or needed a model. Try a different example on a later occasion and look for clearer reasoning or less support on a comparable task. Use these observations to plan the next teaching step.
Printing, access and sharing
Use separate paper or a different recording method when more space or an accessible format is needed. Free to print and copy within your school, setting or family. Retain the website credit and share this teaching page with other settings.